Needed a way to attach a LED strip I bought from AliExpress to an under-bed storage box. The dimensions of this particular strip were 11.8mm by 6mm. So OpenSCAD to the rescue. Made a simple cube, cut out a channel and added a screw hole.
Making a 3D Model
With OpenSCAD you can create 3D models using code, something I personally find much simpler than a graphical design tool. Its also a lot easier to adjust and modify these kinds of models, to fit other kinds of use-cases.
led_thickness = 11.8;
led_height = 6;

bw = 20; // bracket width
bt = 2; // bracket thickness
lfh = led_height + 0.2; // channel height to fit the led strip
bd = 12; // bracket depth, needs to be bigger than led thickness

$fn=1000;

module bracket()
{
    difference()
    {
        cube([bw,lfh+bt,bd],center=true);
        translate([0,0,bt])
        {
            cube([bw+bt,lfh,bd+bt],center=true);
        }
    }
}

difference()
{
    bracket();
    translate([0,0,-5]) { cylinder(h=bt/2,r=2.4,center=true); }
    translate([0,0,-5]) { cylinder(h=bt*2,r=1,center=true); }
}
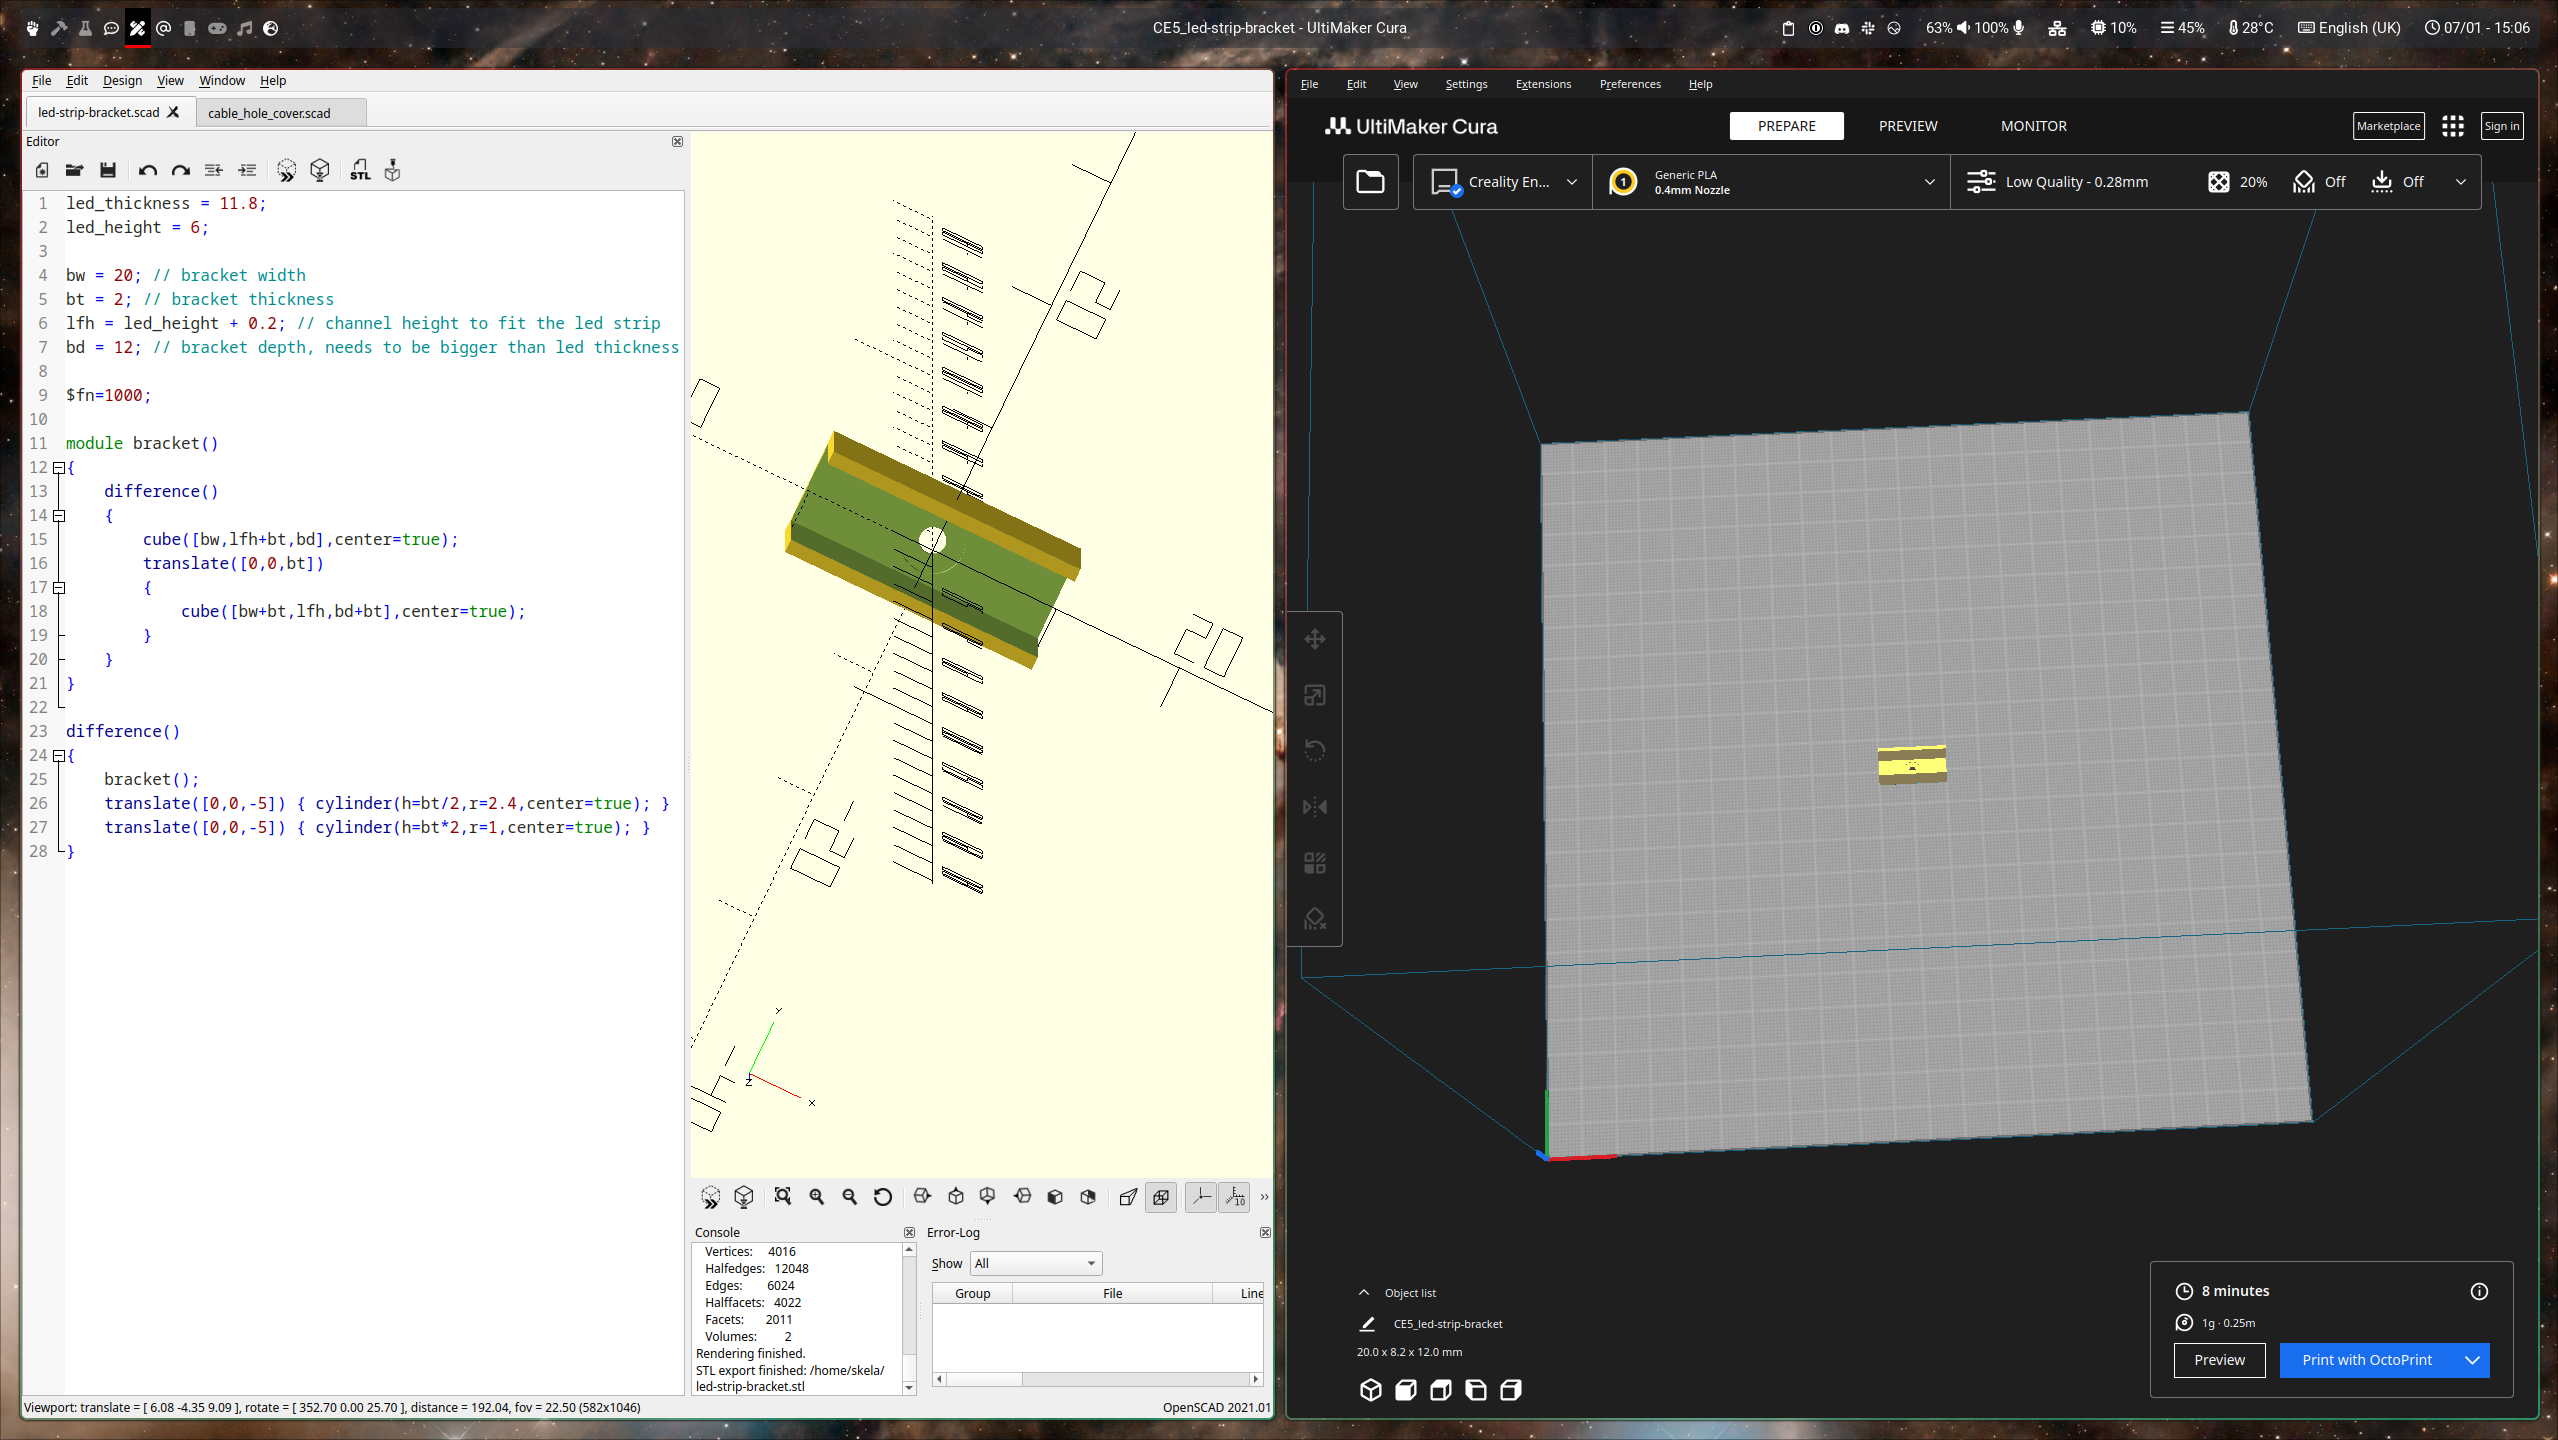
Exporting as an STL file
Once your happy with your design, you export it as an STL file, and then import that into the slicer / 3D printer software of your choice. Here I'm using UltiMaker Cura.
Sequential Prints
Printing a bunch of these would be a tad too tedious, if you had to do it 1 by 1. With UltiMaker Cura, you can set it to print sequentially. In this case, I was able to squeeze in 9 brackets every print, making the most of every square inch of my Ender 5 Pro build plate.

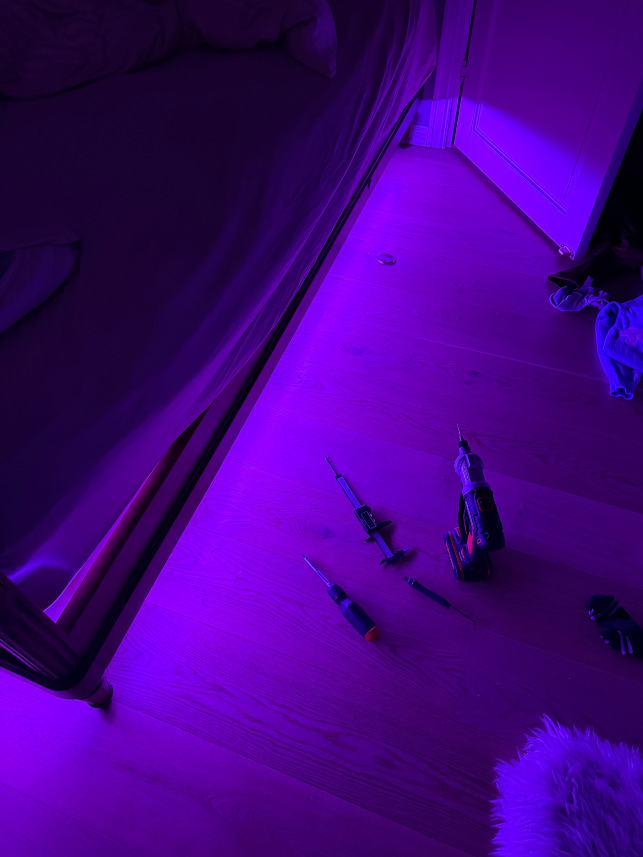
The End Result
Quite pleased with that, daughter approves.